

Making your own prosthetics gives you the freedom to create sfx makeup pieces you may be unable to with latex or scar wax. Let’s start with how to sculpt and cast.
Sculpting your own prosthetics is an amazingly creative experience that will get you hooked from the get go. It gives you the freedom to create pieces you may be unable to make with latex or scar wax. And these pieces will also stay on your body longer, making them great for costumes and Halloween! You can pick up most of the products needed in a craft store, or alternatively online such as eBay or Amazon. It’s also handy to have some reference pictures with you; I searched google for real life images of wounds, which is stomach turning but you get used to it after a while. This will help you get started and keep you sculpt looking as real as possible.
You will need:
- Modelling clay – air drying
- A dish of water
- Sculpting tools – or a spoon/knife
- A surface to work on, I used a plate
- Plaster of Paris
- Stippling sponge
Step 1:
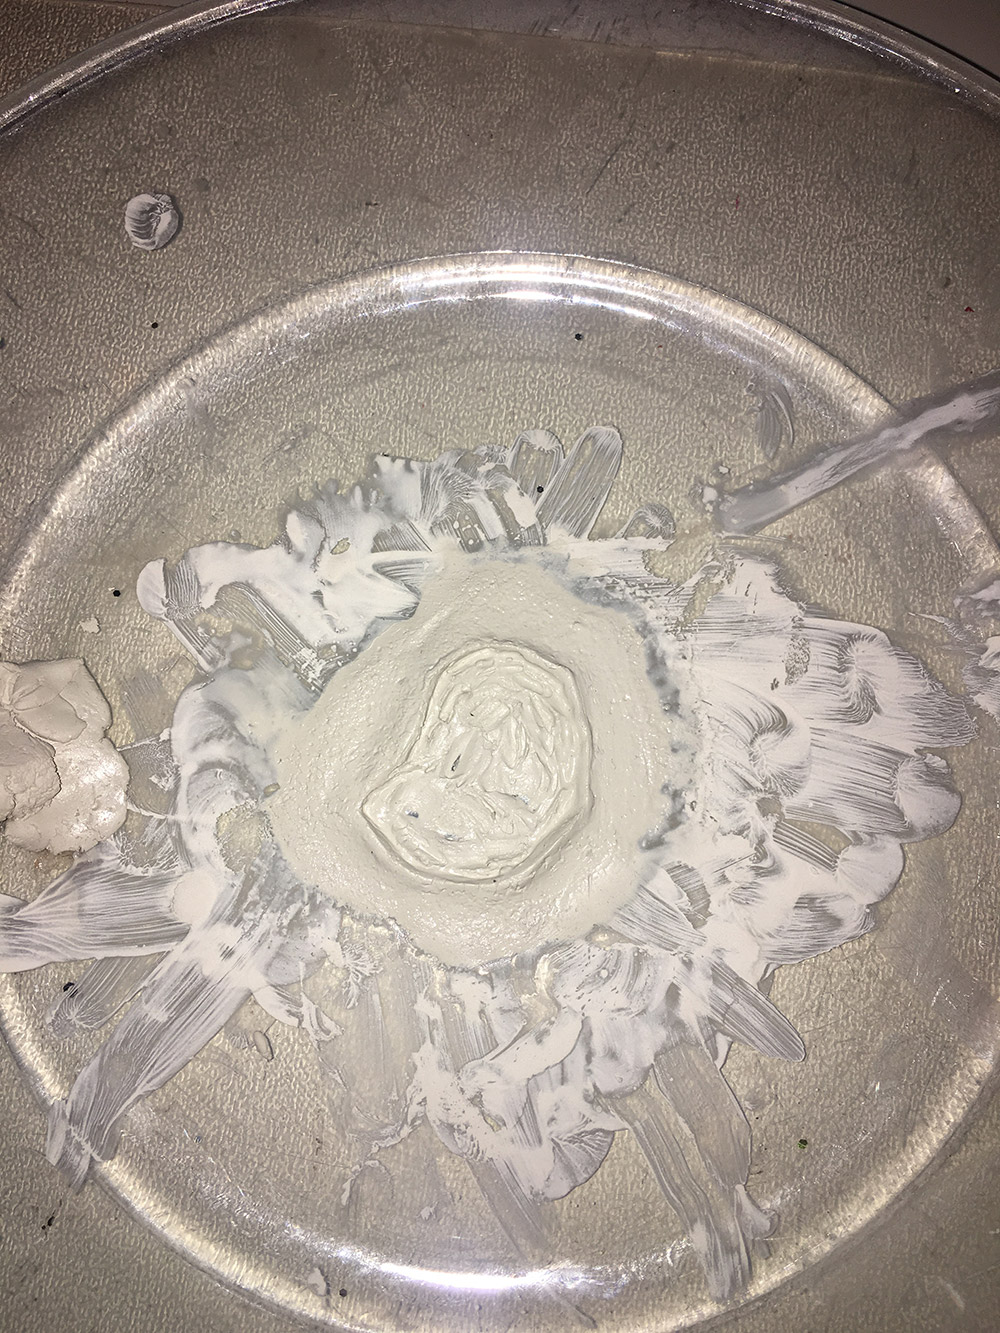
Take some clay between your hands and roll into a ball, press flat and start to blend in the edges on your chosen surface. Use water to help with the blending process. You want the clay to be quite thin, as this will keep the actual prosthetic looking as real as possible.
Step 2:
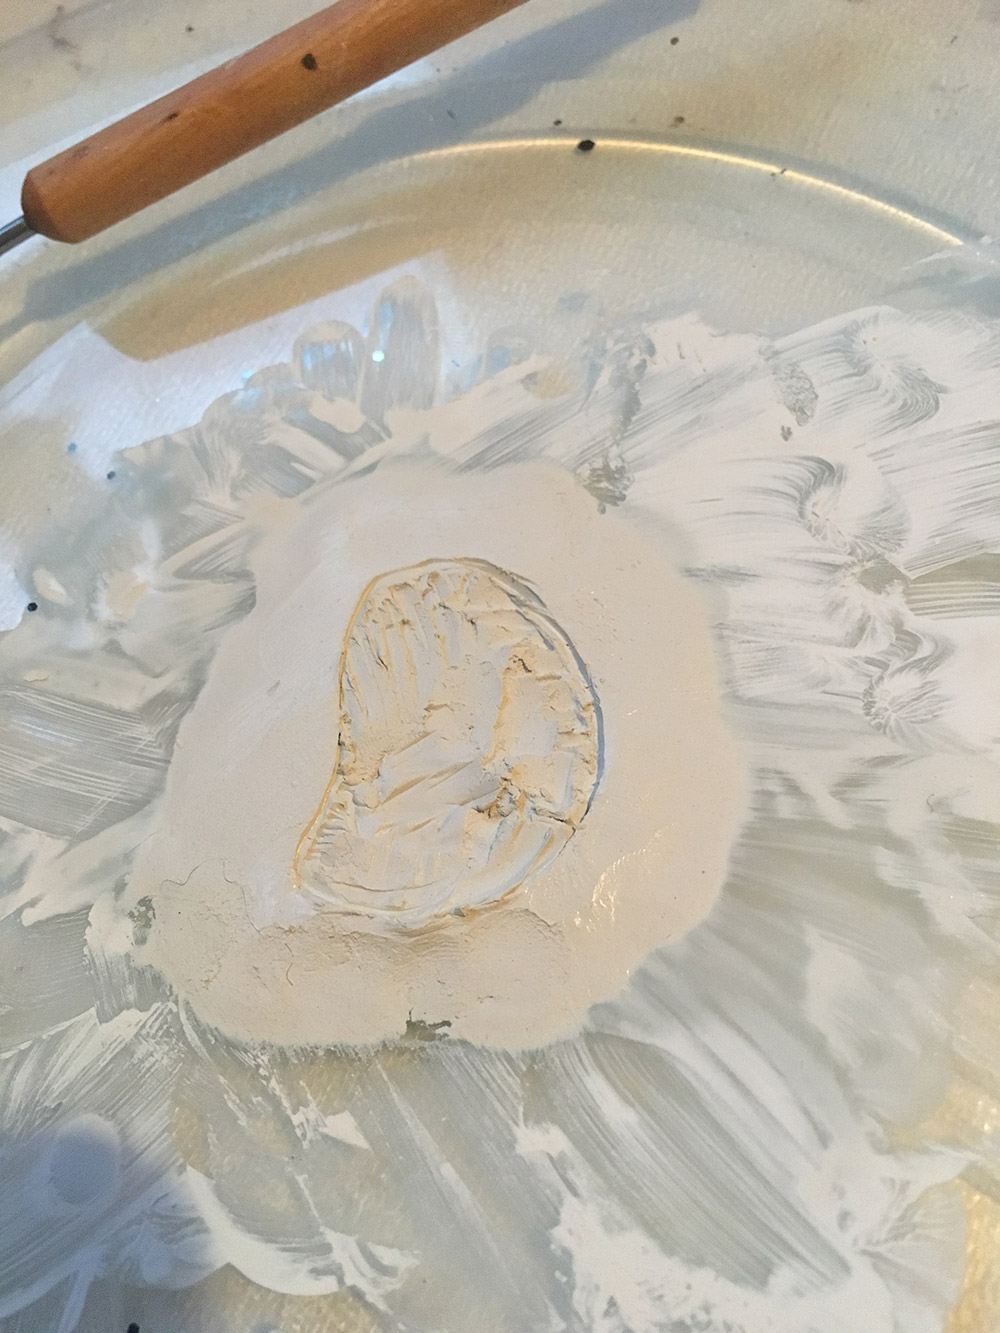
Once you have an idea in mind what you want your piece to look like, you can start sculpting. I started by outlining the shape of the wound, and then started to peel back layers of the clay inside with a rounded sculpting tool. You really have creative freedom here to do what you want! You can make simple bullet holes or go big and make large gashes and deep wounds with texture.
Step 3:
Add depth to the sculpt by pressing into the clay in random places and peeling back small bits of clay so the wound looks deeper in certain areas. You can dig into the clay, poke it, use different tools on it, all to create texture inside that will be revealed when the prosthetic is applied and painted.
Step 4:
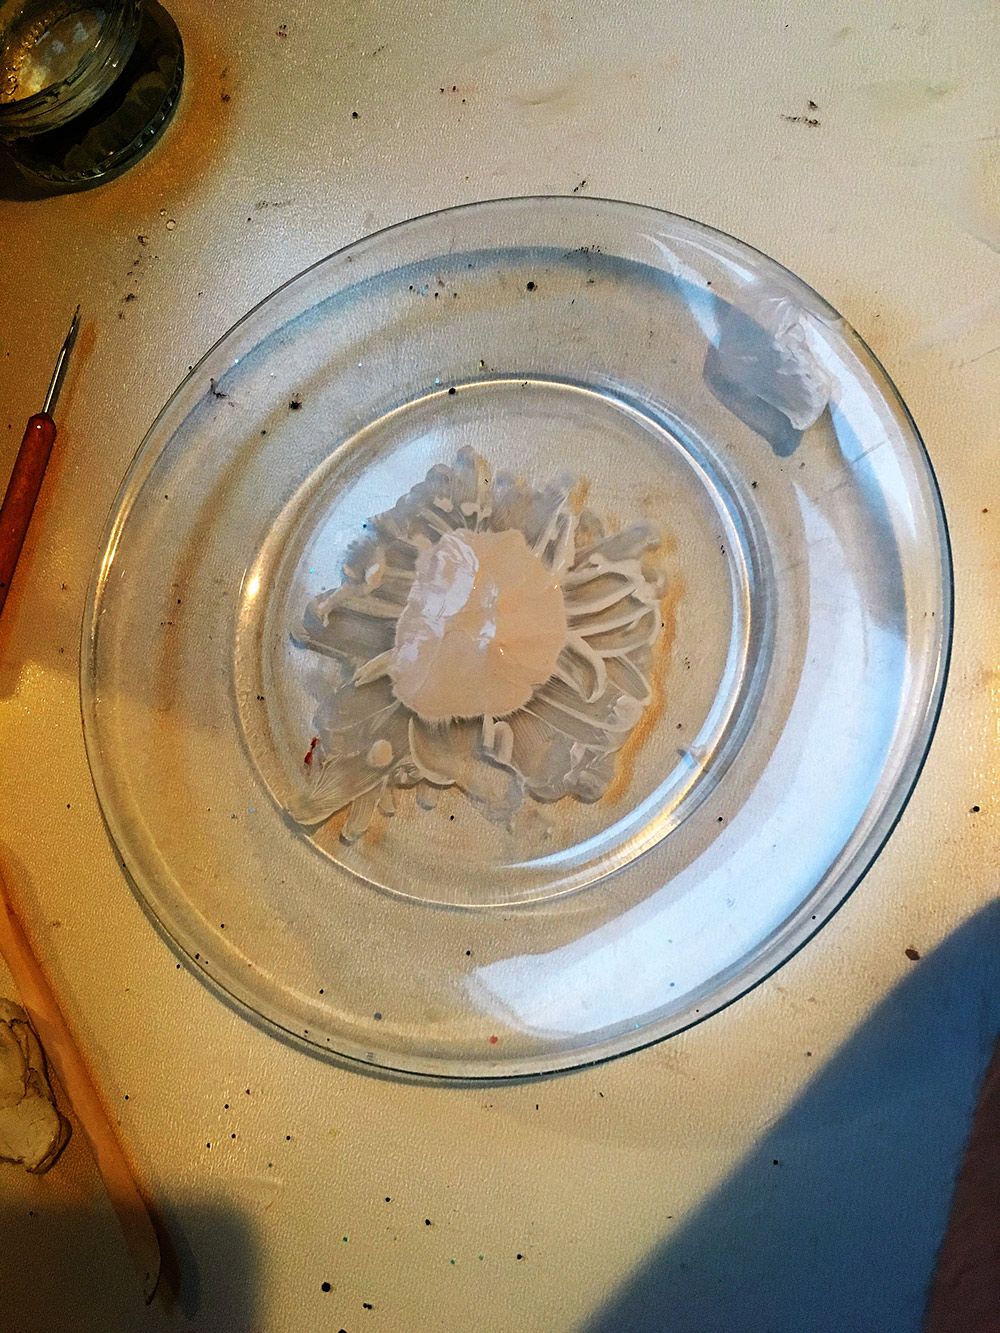
Use a stippling sponge around the wound area to mimic skin texture. Wipe away excess clay around the sculpt and leave to dry for about an hour.
Step 5:
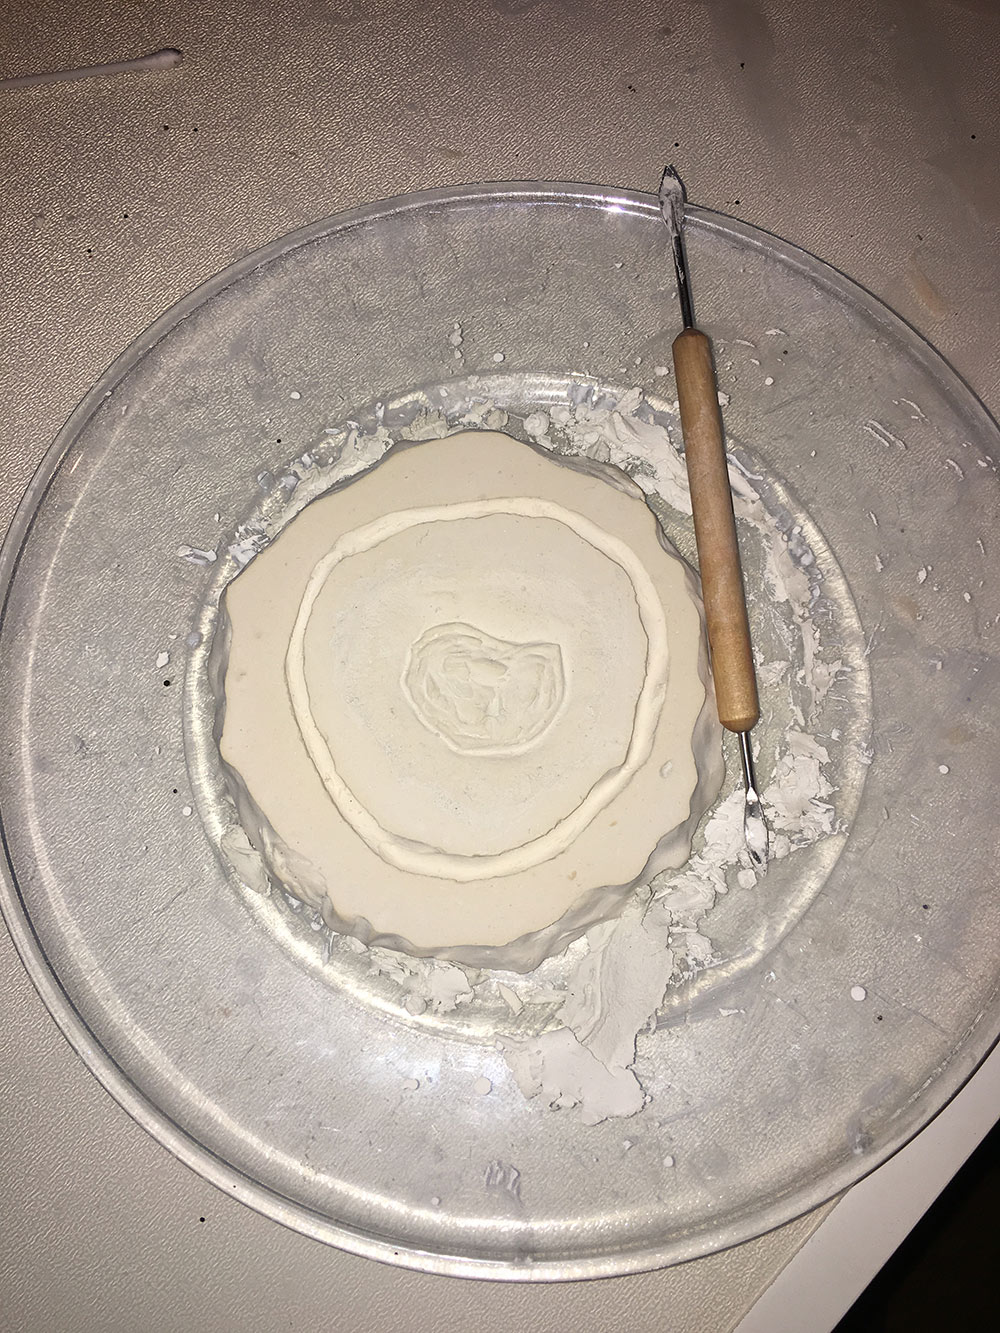
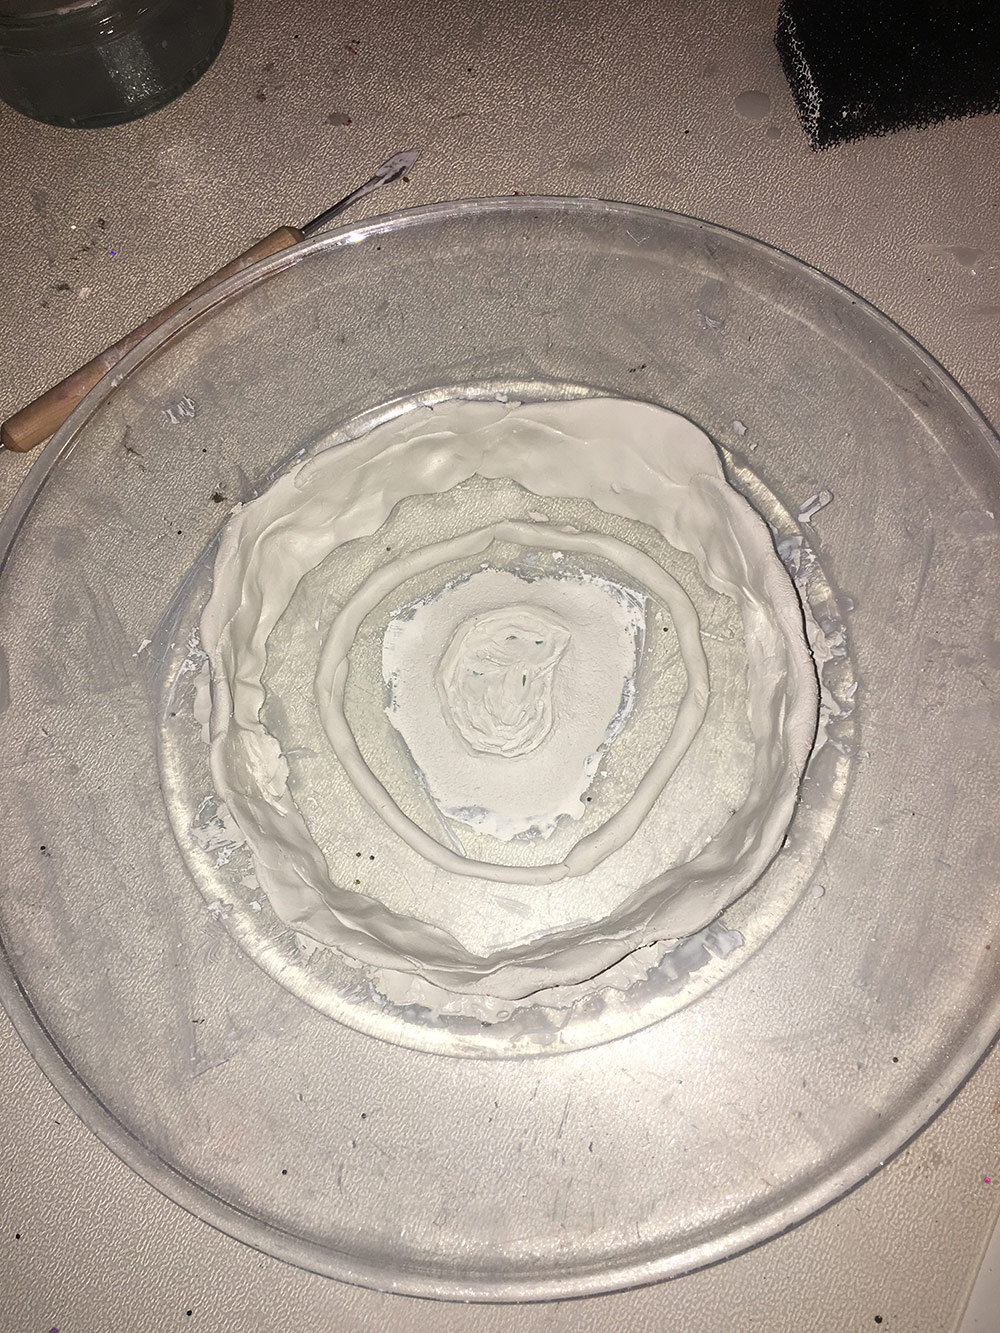
The sculpt should be somewhat drier now and ready to be made into a mould. Roll thin pieces of clay into long sausages and make a circle around the sculpt with them; this is an important step as it catches excess gelatine later and leaves you with thin edges which can be blended easily when applied.
Step 6:
Using more clay, make another circle around the previous one, but make the walls much higher. This will be the barrier containing the plaster of Paris. Make the walls at least a centimetre taller than the sculpt, the taller the better.
Step 7:
Prepare the plaster of Paris – ratios usually come with the packet making life easier. Make sure there are no lumps, and then pour into the mould! Bang the surface a few times so any air bubbles pop, and leave over night to set. The next day you can remove the clay walls supporting the plaster and you should have a nice mould ready to use! Scrape out and excess clay with a knife and you’re set to go!
Sculpting your own prosthetics is super fun, and what’s even better is that you get to keep the mould and reuse it as many times as you want! Next week, I’ll be showing you how to run your mould and how to apply it to your body.
Until next time, stay scary!
Try other great sfx makeup looks:
")

")


1 Comment
1 Record