

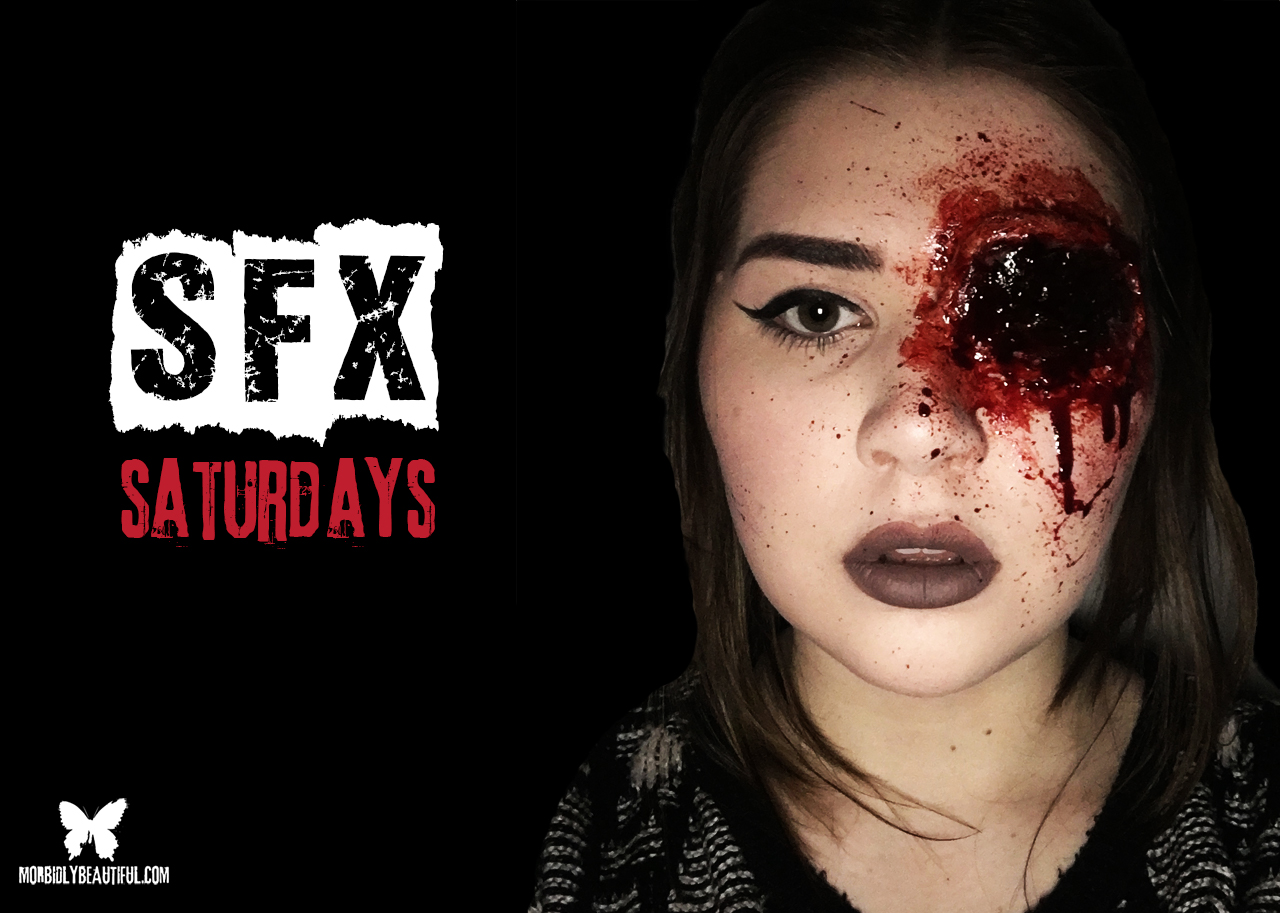
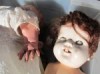
For fans of The Walking Dead, here’s how you can recreate the gruesome look of Carl’s shot out eye
Play around with the blood until you get your desired level of gore.
Fans of The Walking Dead will surely remember the episode where Carl tragically lost his eye, featuring the truly amazing SFX makeup by Hollywood legends Greg Nicotero and Howard Berger. These Hollywood pros would have used a life cast of actor Chandler Rigg’s head, sculpted the eye wound onto this and then ran the life cast in either foam latex or silicone to create a prosthetic piece.
For the average SFX makeup artist such as myself, this is far beyond my expertise (and budget!). So I have recreated the look using stuff I had on hand already — liquid latex and sculpting gel. The most difficult part of this look will be working with the sculpting gel. Thus, if you don’t feel comfortable using it, swap this for latex or use SFX gelatine, which I have used in previous posts!
(Note: I created my eye piece using a Powdah FX video tutorial, which you can find at the end of this article.)
For this sfx makeup look, you’ll need:
- Liquid latex
- Red and black face paints or eyeshadows
- Sculpt gel/Gelatine
- Makeup brushes
- Old toothbrush
- Spirit gum
- The eye piece
- Fake blood
- Face powder
- Foundation
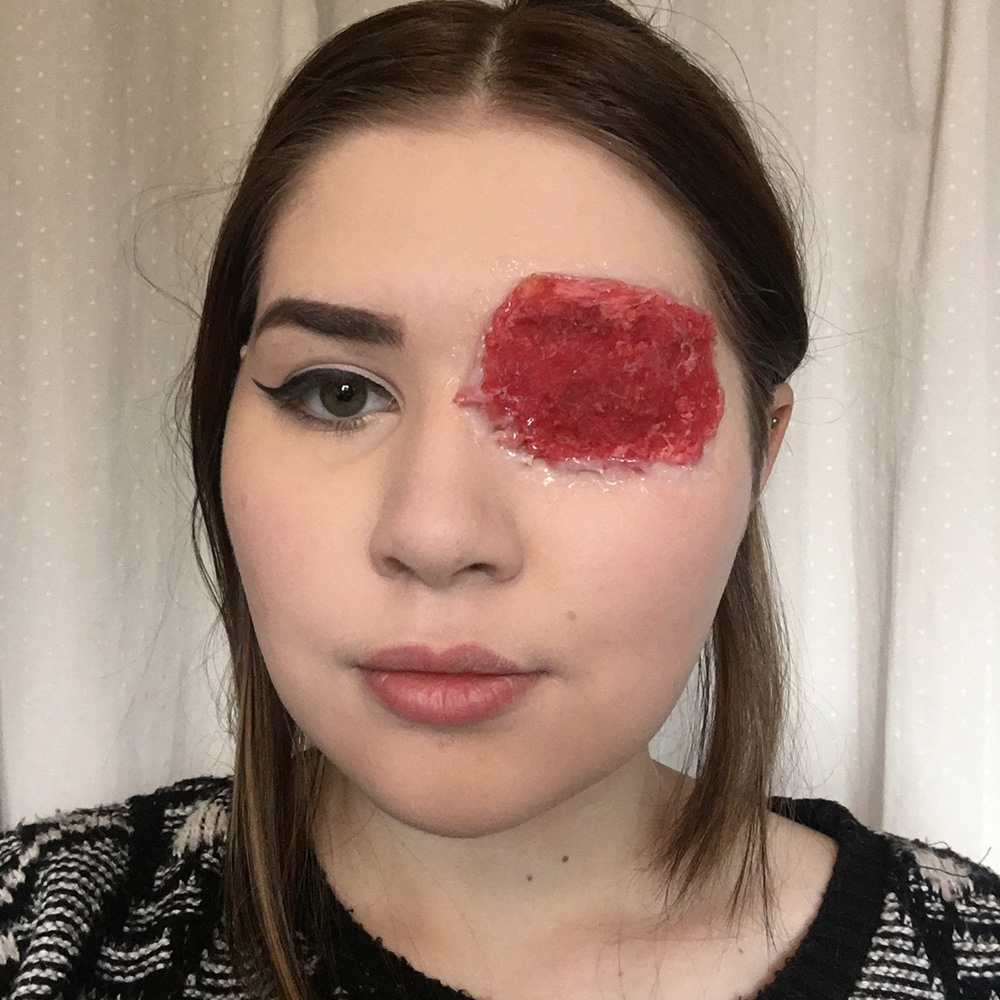
Step 1:
Assuming you have created your eye piece, make sure it fits around your whole eye, covering your brow too. Knowing it fits, apply spirit gum around the area (careful not to get too close to the eye), wait for it to become tacky and then apply the eye piece. Hold down for about a minute to ensure it’s on firmly.
Step 2:
This is where it gets tricky, if you are using sculpt gel, mix equal amounts part A and part B using different items to measure with (if you contaminate one with the other the entire part will be ruined!) and mix thoroughly. I mix mine with the end of a spoon on the back of some card. Then gently begin to apply the mixture around the eye piece, covering the ledge between skin and the prosthetic, dragging upwards slightly to create a torn skin look. Leave to dry for 10 minutes.
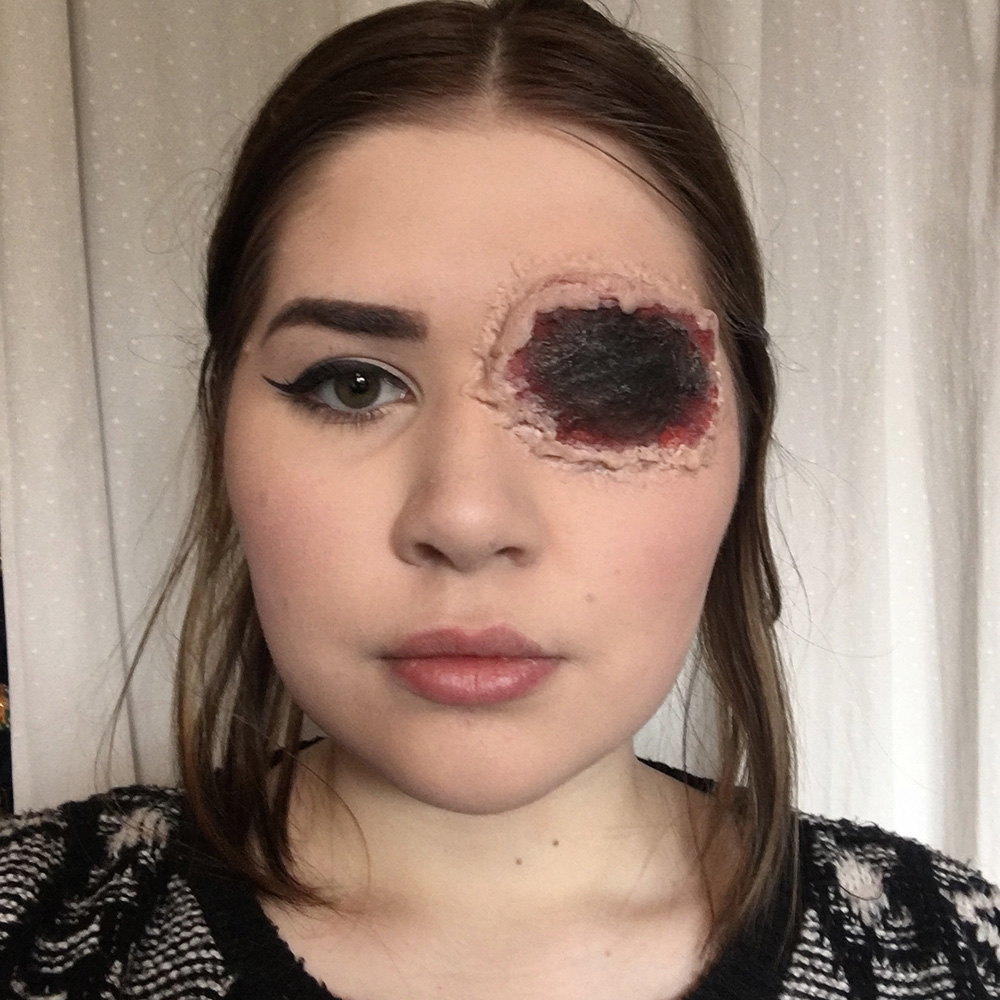
Step 3:
Powder over the sculpt gel to remove any shine, apply some foundation and powder again. Don’t worry if it looks messy, that’s what blood is for! Use black face paint on the centre of the eye piece, blending it towards the edges. Go over the entire thing with some red face paint.
Step 4:
Now the fun really begins! Get your fake blood; I poured a generous amount into a small dish. Apply the blood liberally all over the eye piece. I dabbed some around the piece too with my finger and over the sculpt gel (to hide any blemishes). Dip your toothbrush in the fake blood, and with your thumb lightly flick blood over the piece, and all over your face really. I then created some blood drips on the bottom of the piece. Play around with the blood until you get your desired level of gore.
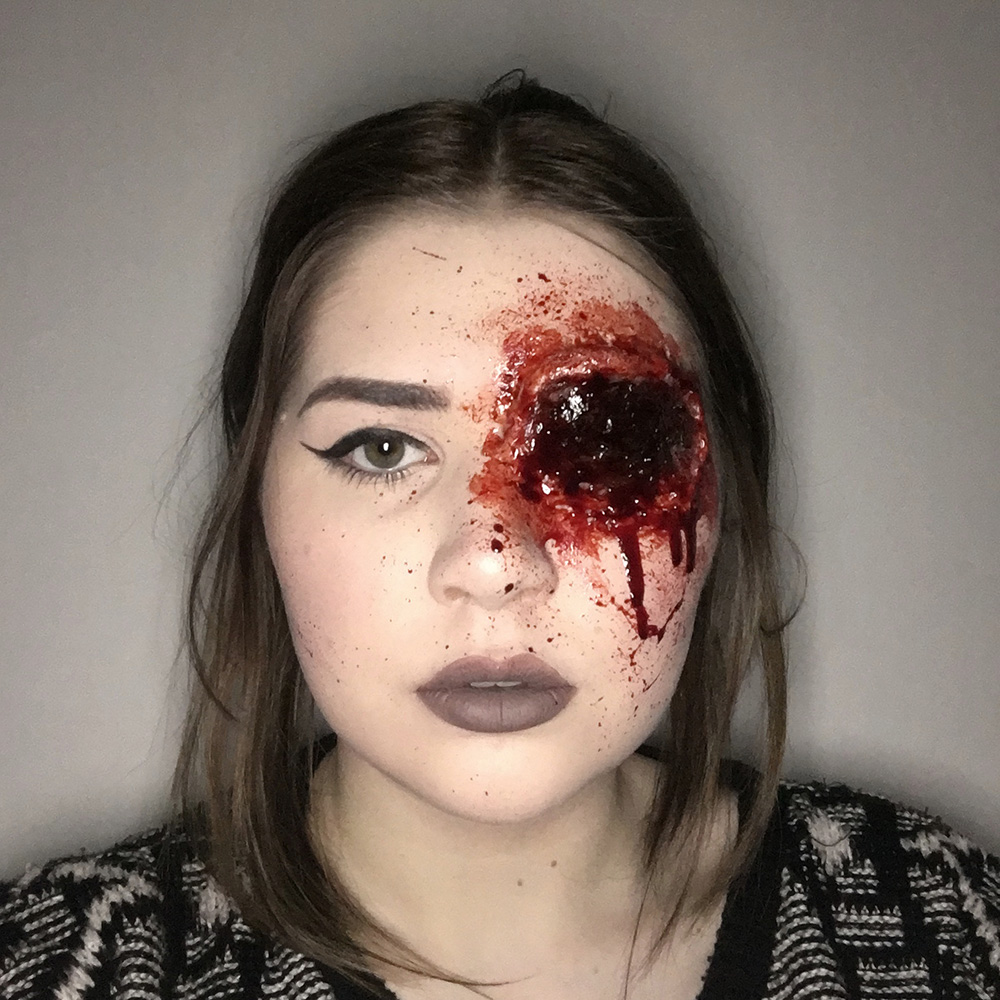
Your look is now complete! I loved making this slightly more challenging look, and whilst it may not be Hollywood level, it’s a gory masterpiece I’m proud of. If you’re making this look on someone else, why not do both eyes? It would look super creepy and disturbing.
Until next time, stay scary!
*Eye Piece Tutorial*
Skip to the third technique he shows!
Try other great sfx makeup looks:


3 Comments
3 Records