


Making your own prosthetics gives you the freedom to bring your sfx design inspirations to life. Let’s look at how to cast and apply.
Make Your Own SFX Prosthetics: Sculpting (pt 1)
So, I had a little trouble with this week’s piece; NOTHING went to plan. This is because the material I intended to use to cast my prosthetic, SFX gelatine, is the devil. I tried several times with the gelatine, each with the same result – burnt fingers, a torn prosthetic and an angry artist. So, having wasted several days trying to work with the gelatine, I decided to experiment with an old school material that I have neglected, latex! I’m happy with the finish the latex prosthetic gave. It was certainly less chaotic than the gelatine and blended seamlessly into my skin, which is great when you want your SFX to look realistic!

So, for this sfx makeup look you will need:
- Liquid latex
- Disposable sponges
- A small plastic container
- OPTIONAL – a hairdryer to speed up the process
- Your mould from the previous tutorial
- Spirit gum or Pros Aide
- Talc/Face powder
Step 1:
Pour some liquid latex into the plastic container (work in small amounts between layers to prevent wastage). Using a sponge, begin to stipple a layer of latex over the mould, stippling will produce a feathered effect around the edges which will be easier to blend into the skin later. You can either let the latex dry naturally, or use the air dyer to speed up the drying time.
Step 2:
Repeat step 1, use more in the centre, but don’t use as much on the outer ring of the mould as you want the layer of latex to be as thin as possible here. Dry and repeat.
Step 3:
After around 4-5 layers, your prosthetic should be ready to remove from the mould! Liberally apply a layer of talcum or face powder to prevent the latex sticking to each other.
Step 4:
Gently begin to peel the latex from the mould; continue to powder to prosthetic as you peel it off to prevent the latex from sticking. You need to be patient in this step as to not rip the prosthetic.

Step 5:
Your prosthetic should now be ready to apply! You can trim the edges of your piece but this is not necessary if they are thin enough. Apply a generous coat of spirit gum or Pros Aide on the back of the prosthetic. Once dry, apply to the chosen area (preferably a hair free area, unless you want a free wax job in the process)
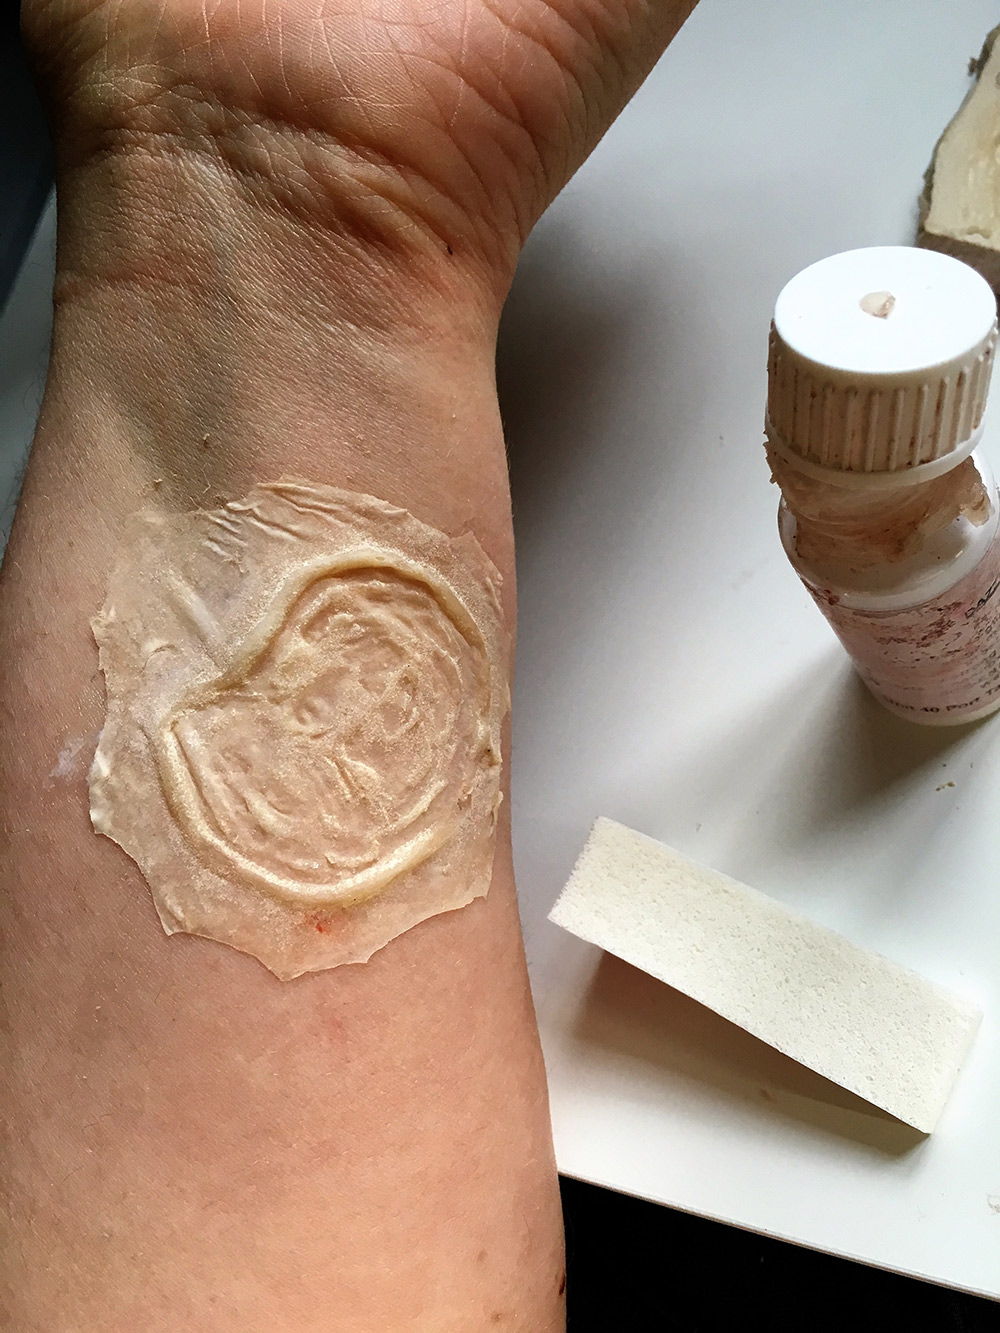
Step 6:
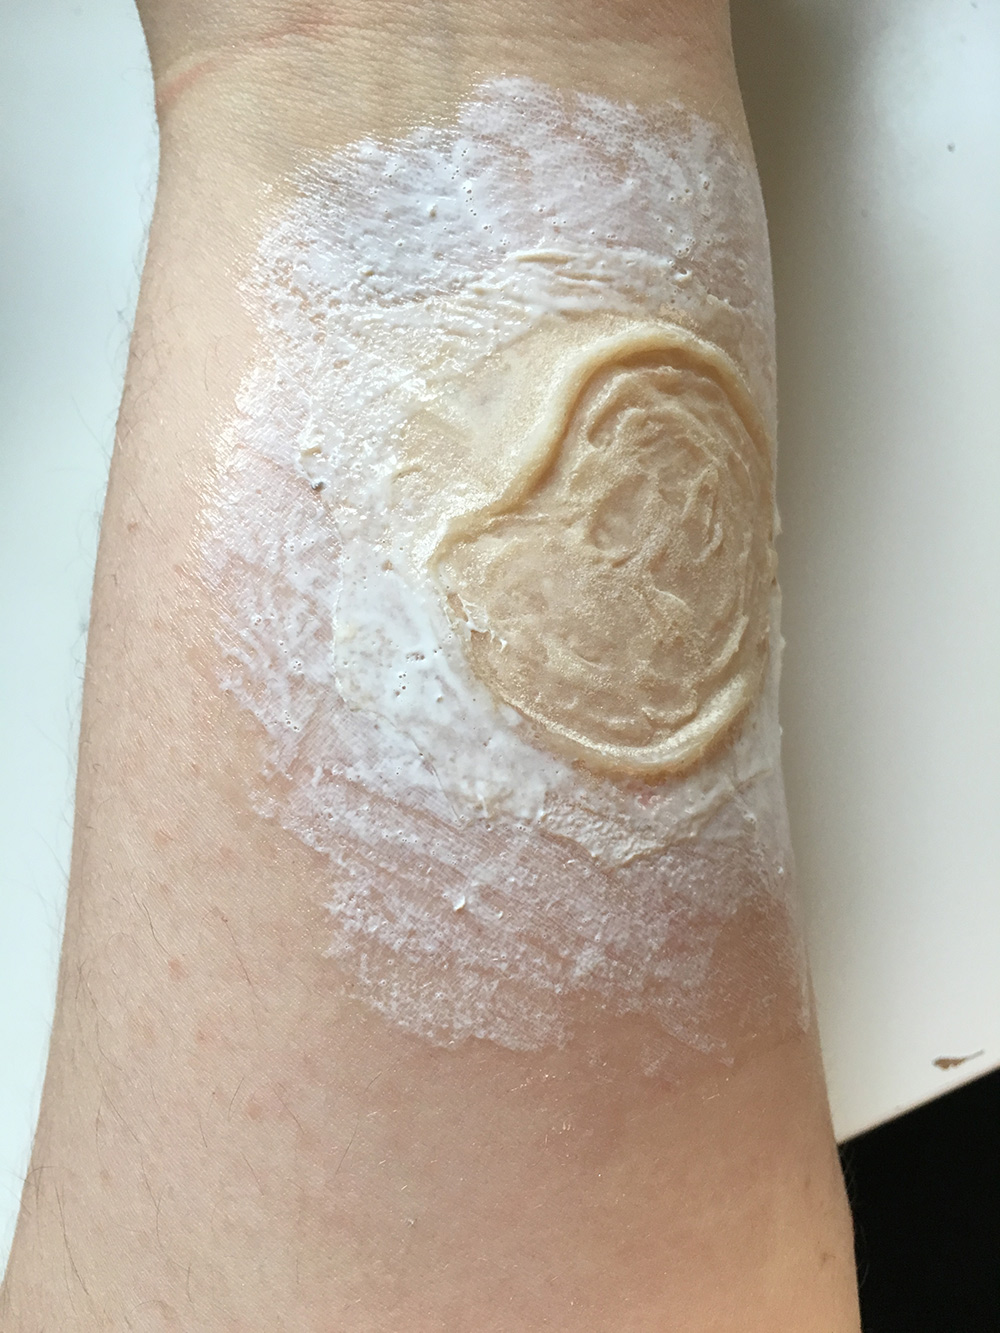
Once the prosthetic is firmly in place, you can begin to blend. Pour some latex into your container and stipple around the edges of the piece. You can repeat this several times depending on how thick or thin your edges are. Powder over the latex once again to remove the shine and you are ready to decorate your prosthetic!
Despite my disastrous attempts with gelatine, I had a lot of fun doing this makeup, especially was it was the first time I had managed to achieve a seamless edge without using scar wax! I will be attempting more ambitious prosthetics in the future, and that’s just the beauty of SFX, there’s so much inspiration out there just waiting to be brought into SFX reality! I will for sure be re watching the Saw films for inspiration in the coming weeks!
Until next time, stay scary!
Try other great sfx makeup looks:
")

")


Follow Us!