

From The Mortician’s Table: Car Accident/Slasher Victim (Step-by-step tutorial for professional makeup effects)
For this week’s FX piece, I am going to take you back to a promo photo shoot I do for the Viper Production’s film Mental Scars. This particular FX piece will be using many of the same techniques that I have shown you in previous posts. However, this time we rely more heavily on Mortician’s Wax instead of the standard cotton balls and latex.
This was a bit more challenging than the previous ones I have shown you for several reasons, with the primary one being the outside temperature. When we started it was in the low 70s, but by the time we finished it had dropped to the high 50s. Mortician’s Wax tends to stiffen and become more brittle as the temperature drops, but we were fortunate that our model did not have to do any kind of movement that would have disturbed the make-up.
The Process:
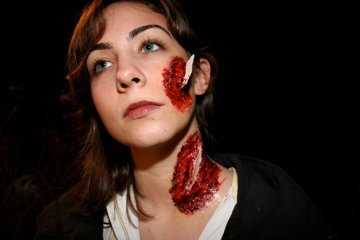
Step 1: The shoot took place in a junkyard, so the first thing I did was to find a few small plastic pieces from car bodies that would look good as shrapnel. I made sure that no ends were razor sharp so that no harm would come to my model. I took a small bit of Mortician’s Wax and applied it to her face, building and sculpting until it reached a level where I could place the first piece of shrapnel in her cheek without it falling out (be aware of the fact that Mortician’s Wax works best when warm. You may find that you will need to roll it around in your hands several times to get it to the consistency where you can place and then sculpt it to your liking. I then set it by apply a light layer of latex around the edges. Once that was complete, I filled in around the edges with a Bruise Purple to make sure the edges blended with her real skin.
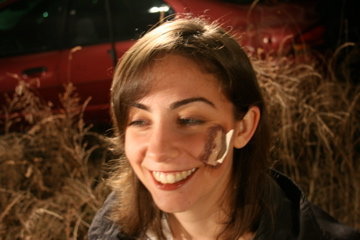
Step 2: Once I was satisfied with how it looked, I then took my Gel and Stage Blood and applied it with a Stipple Sponge. You can apply your blood to how it visually appeals to you, but knowing I would be adding more “liquid” blood later, I felt that it would offer a nice base for a dried and scabby look. I also felt like adding this blood early would hide any imperfections in the Mortician’s Wax and add a layer of depth.

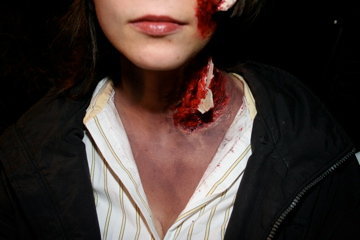
Step 3: Satisfied with how that looked, I then decided to move to her neck wound. Using the same technique as above, I applied a larger base of Mortician’s Wax and built several layers to give myself plenty of room to work with. A word of caution: when applying Mortician’s Wax to someone’s neck, especially in the areas of the carotid artery and the jugular vein, you have to be mindful of the amount of pressure you are applying in these areas. Pressing too hard can restrict the blood flow and could accidentally render your model unconscious. Keep a mindful dialogue going while applying in this area, watching for light-headedness and of course loss of consciousness.
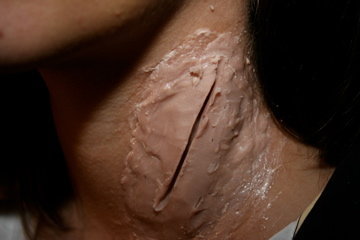
Step 4: Once again, when I had the Mortician’s Wax applied to the level I liked, I then coated it with latex and applied my Bruised Purple around the edges. I also applied the same blood technique as I did in Step 2 above. After that, it was simply a matter of inserting the shrapnel piece where I wanted it.
Step 5: Once I had the major facial and neck wounds in place, the next step was to apply the proper amount of bruising to simulate either a car accident or a violent beating. Please note that shooting outside in colder weather and tight locations may make you have to apply the bruising heavier than you may initial want to. Looking at it with just your naked eye under the lights may look good, but once you put the lights on it in your location, you will notice that the camera does not pick up the discoloration the way you want. This step is very trial and error, so be patient with this step as it may take several trips back to the make-up chair.
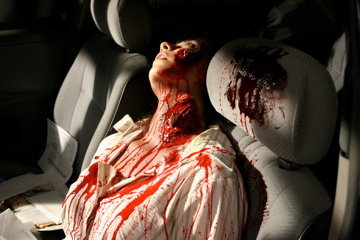
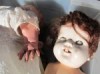
Step 6: Now that the base make-up is in place, it is time to place the model in the location. As we were in a junkyard, we found a car that we could place her in and the would afford us the proper camera angles to catch the essence of what we were looking for. Once we had her properly positioned, I tore her shirt and applied liberal amounts of blood to the headrest of the seat and to her. For the large amounts of blood on her and her clothing, I used my blood which was made from Karo Syrup and red food dye. Again, keep in mind the temperature. As it was colder by the time we got to this point in the shoot, the syrup thickened quite a bit. Once the blood was applied to her, I took a make-up sponge and spread it to the desired locations. Pooling and running were not so much of an issue like it normally would be on a hotter day.
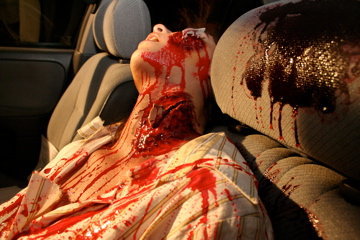
Step 7: The final step was simply adding extra blood for added effect. Once again, I used my Karo Syrup blood and simply allowed it to slowly run down the window exteriors to give the effect of an accident/slashing. The coolness of the evening (which again, thickens the blood) and the placement of the lights really gave the blood a deep red hue that photographed well.

Make-Up Supplies Needed For This FX Piece:
Ben Nye Proscenium Creme Foundations (P-17 Death Purple)
Creme Foundations are the artistic standard and Ben Nye has it all. Ben Nye Creme Foundations provide full, creamy coverage that blends flawlessly with all creme colors, concealers, and f/x colors.
Ben Nye Professional FX Color Wheels (DW Death Wheel)

Ben Nye Professional FX Color Makeup Wheels provide Professionals with unlimited character options. Reds, purples and violets are designed in our ultimate F/X formula. All can be layered for intensity and thinned with alcohol to create a translucent wash. Blood shades are great to simulate various subtle injuries [fresh or healing].
Ben Nye Nose and Scar Wax (Fair)
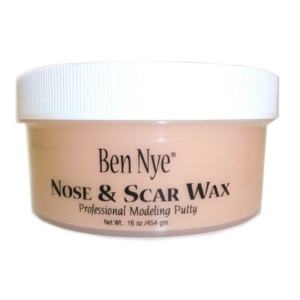
Nose and Scar Wax by Ben Nye is pliable, yet firm, to create simulated injuries such as a bullet holes, broken nose, or wounds. Available in translucent tones Fair and Brown.
Ben Nye Stage Blood
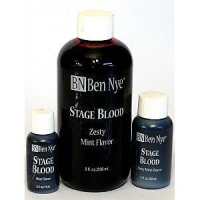
Ben Nye Stage Blood has been used in many feature films exclusively. Realistic qualities in the Ben Nye stage blood include vivid coloring and medium flowing viscosity. Stage Blood by Ben Nye has a peppermint flavored and safe in the mouth. May stain some fabrics and surfaces; test before use.
Ben Nye Thick Blood
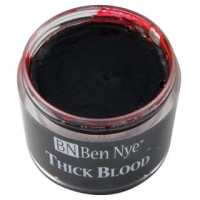
Ben Nye’s Thick Blood is a moist, jam-like texture that can be used to fill wounds. Scrape Thick Blood along skin with a stipple sponge for an abrasion or road rash. Remove with Hydra Cleanse or soap and water. Corn syrup content. May stain some fabrics; test before use.
Ben Nye Clear Latex
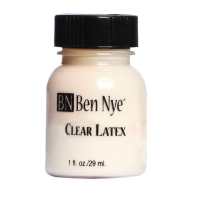
Clear Latex by Ben Nye is used for stretched skin for aging, extreme blisters and wounds. Excellent for sealing Nose and Scar Wax (02/nw) or to mold prosthetic appliances.
Ben Nye Nylon Stipple Sponge
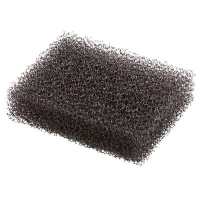
Nylon Stipple Sponge by Ben Nye is used to create texture to makeup. Cut the 3″ by 4″ block into small sections; trim edges to avoid harsh lines.
Ben Nye Foam Sponge
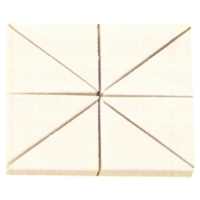
Ben Nye’s finely textured sponge is ideal for applying and blending creme makeup. 3″ by 4″ block is die cut into eight wedges. Synthetic, irritation-free, cosmetic grade white foam. Disposable.
Other products include Q-tips, Karo Syrup Blood and various sculpting tools.

")
")


Follow Us!